
Install
Inside DeepSeek Harness, with dsh-market
dsh plugin --profile web add dshmarket
Or from the command line
dsh plugin --profile web add @xgone/dsh-remote
Installing runs third-party code with your own permissions — it can read your files, use your credentials and reach the network. Review the source first, and pin a commit (github:owner/repo#sha) when you can.
README
Securely expose the DeepSeek Harness Web UI to remote browsers with a login gate, MFA/TOTP, role-based access, and an in-browser remote file panel. Users sign in from an external browser and get the full DSH experience without native dialogs on the host machine.
Designed for environments where
dsh webalready works locally. The plugin keeps the service on loopback by default; public access still requires an HTTPS reverse proxy or a secure tunnel.
Contents
- Features
- Screenshots
- Getting started
- Remote access
- Configuration
- Headless servers
- FAQ
- Documentation
- Development and tests
- Uninstall
- Known limitations
Features
- Login gate: unauthenticated requests to every path are sent to the login page;
/apiand WebSocket traffic require a valid session. Passwords are scrypt-hashed, failed logins are rate limited, and the first admin is loopback-only. - MFA / TOTP: works with Google Authenticator, 1Password, Authy, and other standard authenticators; supports QR binding and 10 one-time backup codes. An admin can disable MFA for an account.
- Sessions and roles: signed session cookies; admin-only mode by default, with optional
admin/user/guestroles. - Remote file panel: preview code, Markdown, images, PDF, video, audio, text, directories, and extracted
.docxtext in a right-side panel. Unsupported files download directly. Only the DSH home and working directories are readable by default; admins can add allowed roots. - Remote access: works behind nginx, SSH tunnels, Tailscale, Frp, Cloudflare Tunnel, and similar transports with end-to-end WebSocket events.
- Browser-native workspace flow: selecting or creating a workspace uses an in-browser directory dialog instead of opening a host OS file picker.
- Localized and lightweight: follows DSH light / dark theme and language, with English and Chinese UI; remote responses are gzipped by default and hashed assets work well with edge caches.
Screenshots
| Login gate (unauthenticated access) | Settings → Auth & Accounts |
|---|---|
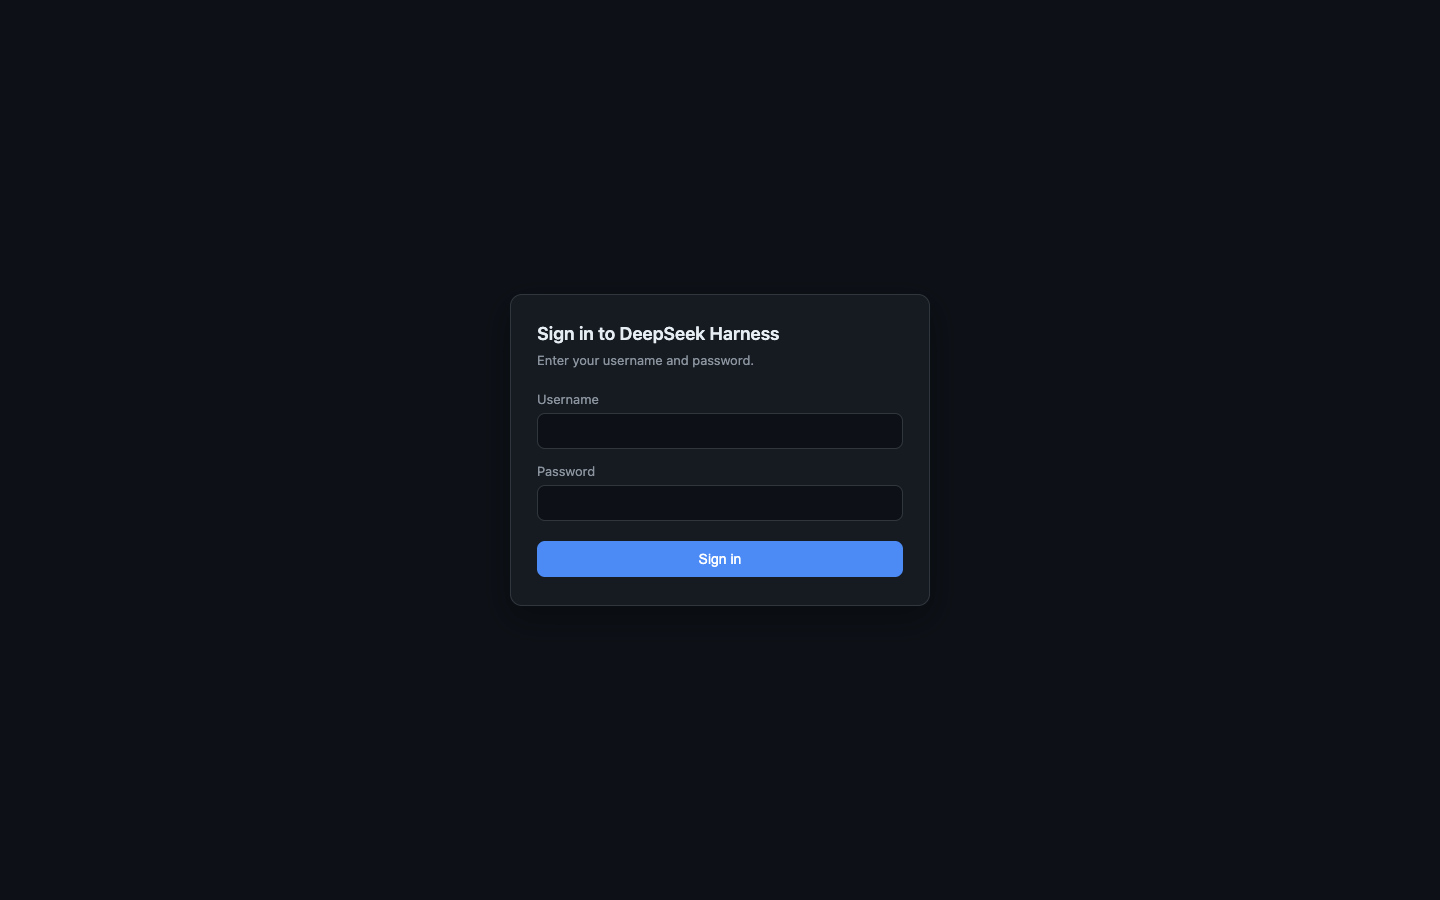 |
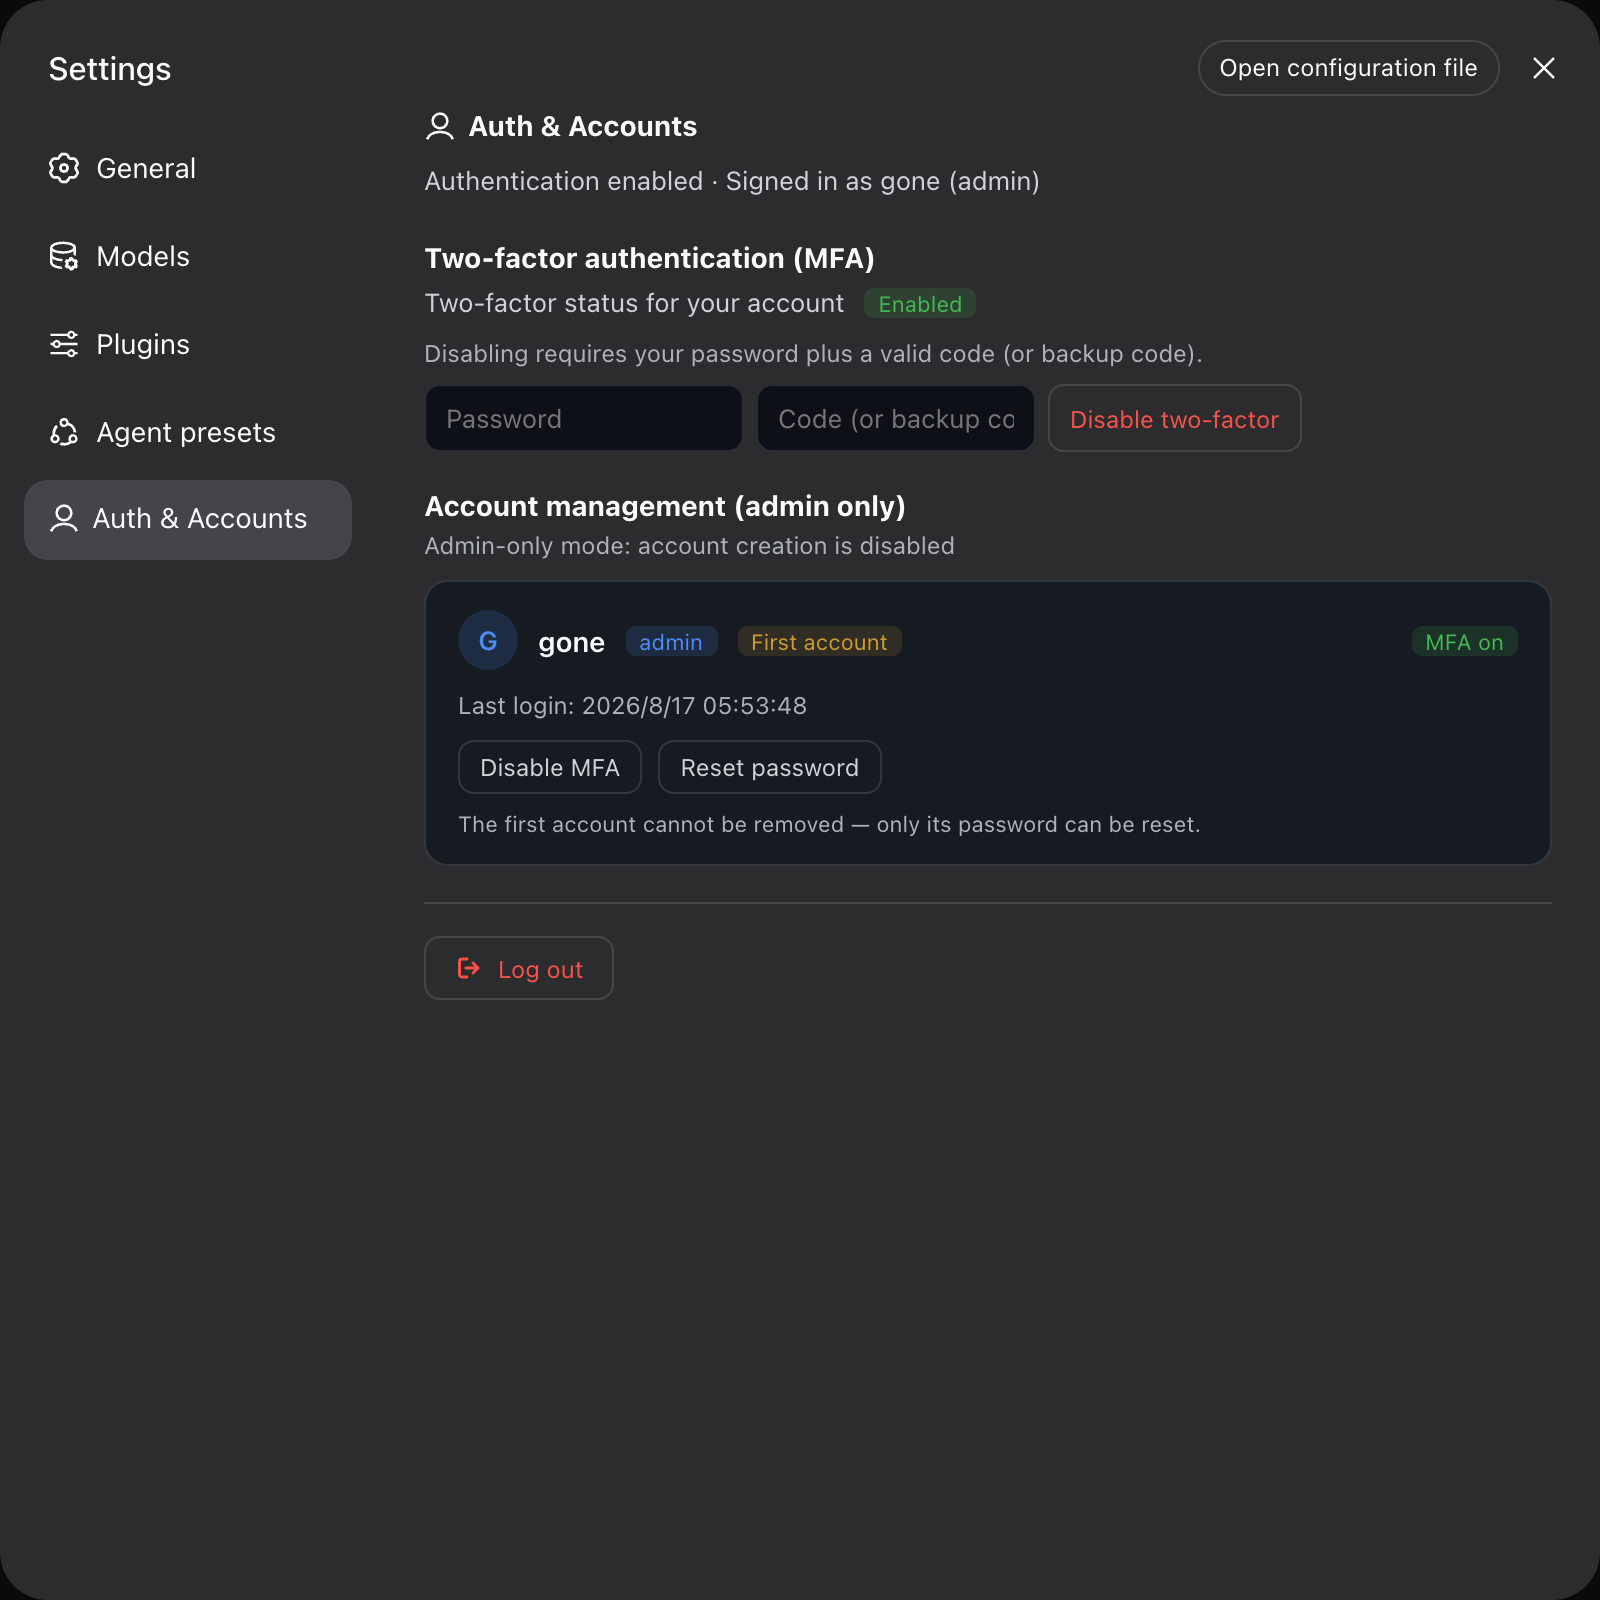 |
Getting started
1. Install
dsh plugin --profile web add @xgone/dsh-remote
2. Restart dsh web
Patches cannot hot-reload, so restart after installing or upgrading:
dsh web
3. Create the first admin
Open http://127.0.0.1:3080 in a local browser. The first visit enters bootstrap mode: enter a username and password (at least 6 characters) to create the first admin, then you are signed in automatically.
Server without a local browser? See headless servers.
4. Bind MFA (recommended)
Go to Settings → Auth & Accounts → Two-factor authentication (MFA) → Enable, scan the QR code with your authenticator, and enter the 6-digit code. Save the 10 backup codes first.
5. Enable remote access
Verify local login and MFA first, then configure a reverse proxy or tunnel as described in Remote access. External access must forward WebSockets; HTTPS deployments must also set session.secure: true.
Remote access
dsh web listens on the loopback address by default. Expose it through a reverse proxy or tunnel, and do not publish an unencrypted service port directly to the Internet.
The following nginx example preserves the WebSocket upgrade headers:
server {
  listen 8443 ssl;
  server_name dsh.example.com;
  ssl_certificate     /etc/letsencrypt/live/dsh.example.com/fullchain.pem;
  ssl_certificate_key /etc/letsencrypt/live/dsh.example.com/privkey.pem;

  location / {
    proxy_pass http://127.0.0.1:3080;
    proxy_http_version 1.1;
    proxy_set_header Upgrade $http_upgrade;
    proxy_set_header Connection "upgrade";
    proxy_set_header Host $host;
    proxy_set_header Origin $http_origin;
  }
}
SSH reverse tunnels, Tailscale, Frp, and Cloudflare Tunnel work the same way. For HTTPS deployments, set session.secure to true in the configuration.
Configuration
Edit the config of the remote row in ~/.dsh/profiles/web/cordis.patch.yml:
- id: remote
  config:
    enabled: true          # false = disable the gate (escape hatch if locked out)
    session:
      secure: false        # set true for HTTPS deployments
    adminOnly: true        # false = enable admin/user/guest roles
    bootstrap:             # optional: only while the account store is empty
      username: admin
      password: 'replace-with-a-strong-password'
| Option | Default | Purpose |
|---|---|---|
enabled |
true |
Enable or disable the login gate; restart dsh web after changing it. |
session.secure |
false |
Set true for HTTPS so session cookies are sent only over secure connections. |
adminOnly |
true |
Keep the deployment admin-only; set false to enable multi-account roles. |
bootstrap |
unset | Provision the first admin on a headless server; remove the plaintext password after the first login. |
See docs/REFERENCE.md for sessions, MFA, rate limiting, gzip, the file panel, allowed roots, and all other options.
Headless servers (no local browser)
Add the bootstrap block above to cordis.patch.yml and restart. The first admin is provisioned at startup, equivalent to local bootstrap. Remove the plaintext password after the first login and bind MFA.
FAQ
| Symptom | Fix |
|---|---|
| No login page after install | Restart dsh web; confirm @xgone/dsh-remote is in the bundles list. |
| 403 when creating the admin | The first admin is loopback-only: use a local browser or reach 127.0.0.1 through ssh -L; on a headless server use bootstrap. |
| Locked out | Set enabled: false in cordis.patch.yml and restart; or delete $DSH_HOME/auth/store.json to re-enter bootstrap mode. |
| Lost MFA / phone | As admin, go to Settings → Auth & Accounts → that account and disable MFA. |
File panel reports outside-roots |
Go to Settings → Auth & Accounts → Allowed directories and add the directory. The change applies immediately. |
After a dsh upgrade every /api call returns 401 despite a successful login |
Upgrade this plugin (≥ 0.3.1) and sign in once more; see CHANGELOG. |
| After a dsh upgrade clicking a file path does nothing / never opens the sidebar | Upgrade this plugin (≥ 0.3.2) and restart dsh web; see CHANGELOG. |
| Settings pages misbehave / popups return after a dsh upgrade | Upgrade this plugin first; compatibility fixes for new DSH versions ship built-in. See CHANGELOG. |
Documentation
- Changelog: CHANGELOG.md — version changes and upgrade compatibility fixes.
- Technical reference: docs/REFERENCE.md — architecture, implementation details, full configuration, and endpoint reference.
- Cloudflare Tunnel deployment: docs/CLOUDFLARE-TUNNEL.en.md — tunnel access without a public IP or open inbound ports.
- npm package: @xgone/dsh-remote.
Development and tests
pnpm install
pnpm check
pnpm test
pnpm test runs Node syntax checks and the complete test suite. GitHub Actions runs the same tests on Node.js 20, 22, and 24.
Uninstall
dsh plugin --profile web remove @xgone/dsh-remote
Restart dsh web to remove the gate. Account data remains in $DSH_HOME/auth/store.json; delete that file separately for a complete reset.
Known limitations
- Configuration changes require restarting
dsh web; HMR is disabled on the web surface. - All accounts share the same workspaces and session data. DSH core is single-tenant, so the plugin cannot isolate data; run one profile instance per person when isolation matters, for example
dsh --profile alice --port 3081.
License
Comments
Comments live in GitHub Discussions. Sign in with GitHub to post or react.