
Install
Inside DeepSeek Harness, with dsh-market
dsh plugin --profile web add dshmarket
Or from the command line
dsh plugin --profile web add dsh-vps
Installing runs third-party code with your own permissions — it can read your files, use your credentials and reach the network. Review the source first, and pin a commit (github:owner/repo#sha) when you can.
README
deepseek-harness-vps
A VPS deployment tool for DSH: it puts stock DSH, behind a login page, on your own VPS so you can use it from any browser. Pick either way to install:
① From a form in the DSH on your own computer: install the dsh-vps plugin from the plugin market (or run dsh plugin add dsh-vps), open Settings → VPS Deploy, enter the server IP, SSH port, username and password (plus a domain if you have one), and click "Install on this VPS".
② With one command on the VPS:
curl -fsSL https://raw.githubusercontent.com/AIcivilization/deepseek-harness-vps/main/install.sh | sudo bash -s
With a domain, or behind the GFW, append arguments at the end, e.g. bash -s -- --domain dsh.example.com --mirror cn. See Install below.
Overview
DeepSeek Harness (DSH) trusts the operator's own browser only: its privileged interfaces — settings, API keys, plugin management — sit behind a browser-trust fence, and a plain reverse proxy to the public internet leaves those pages dead.
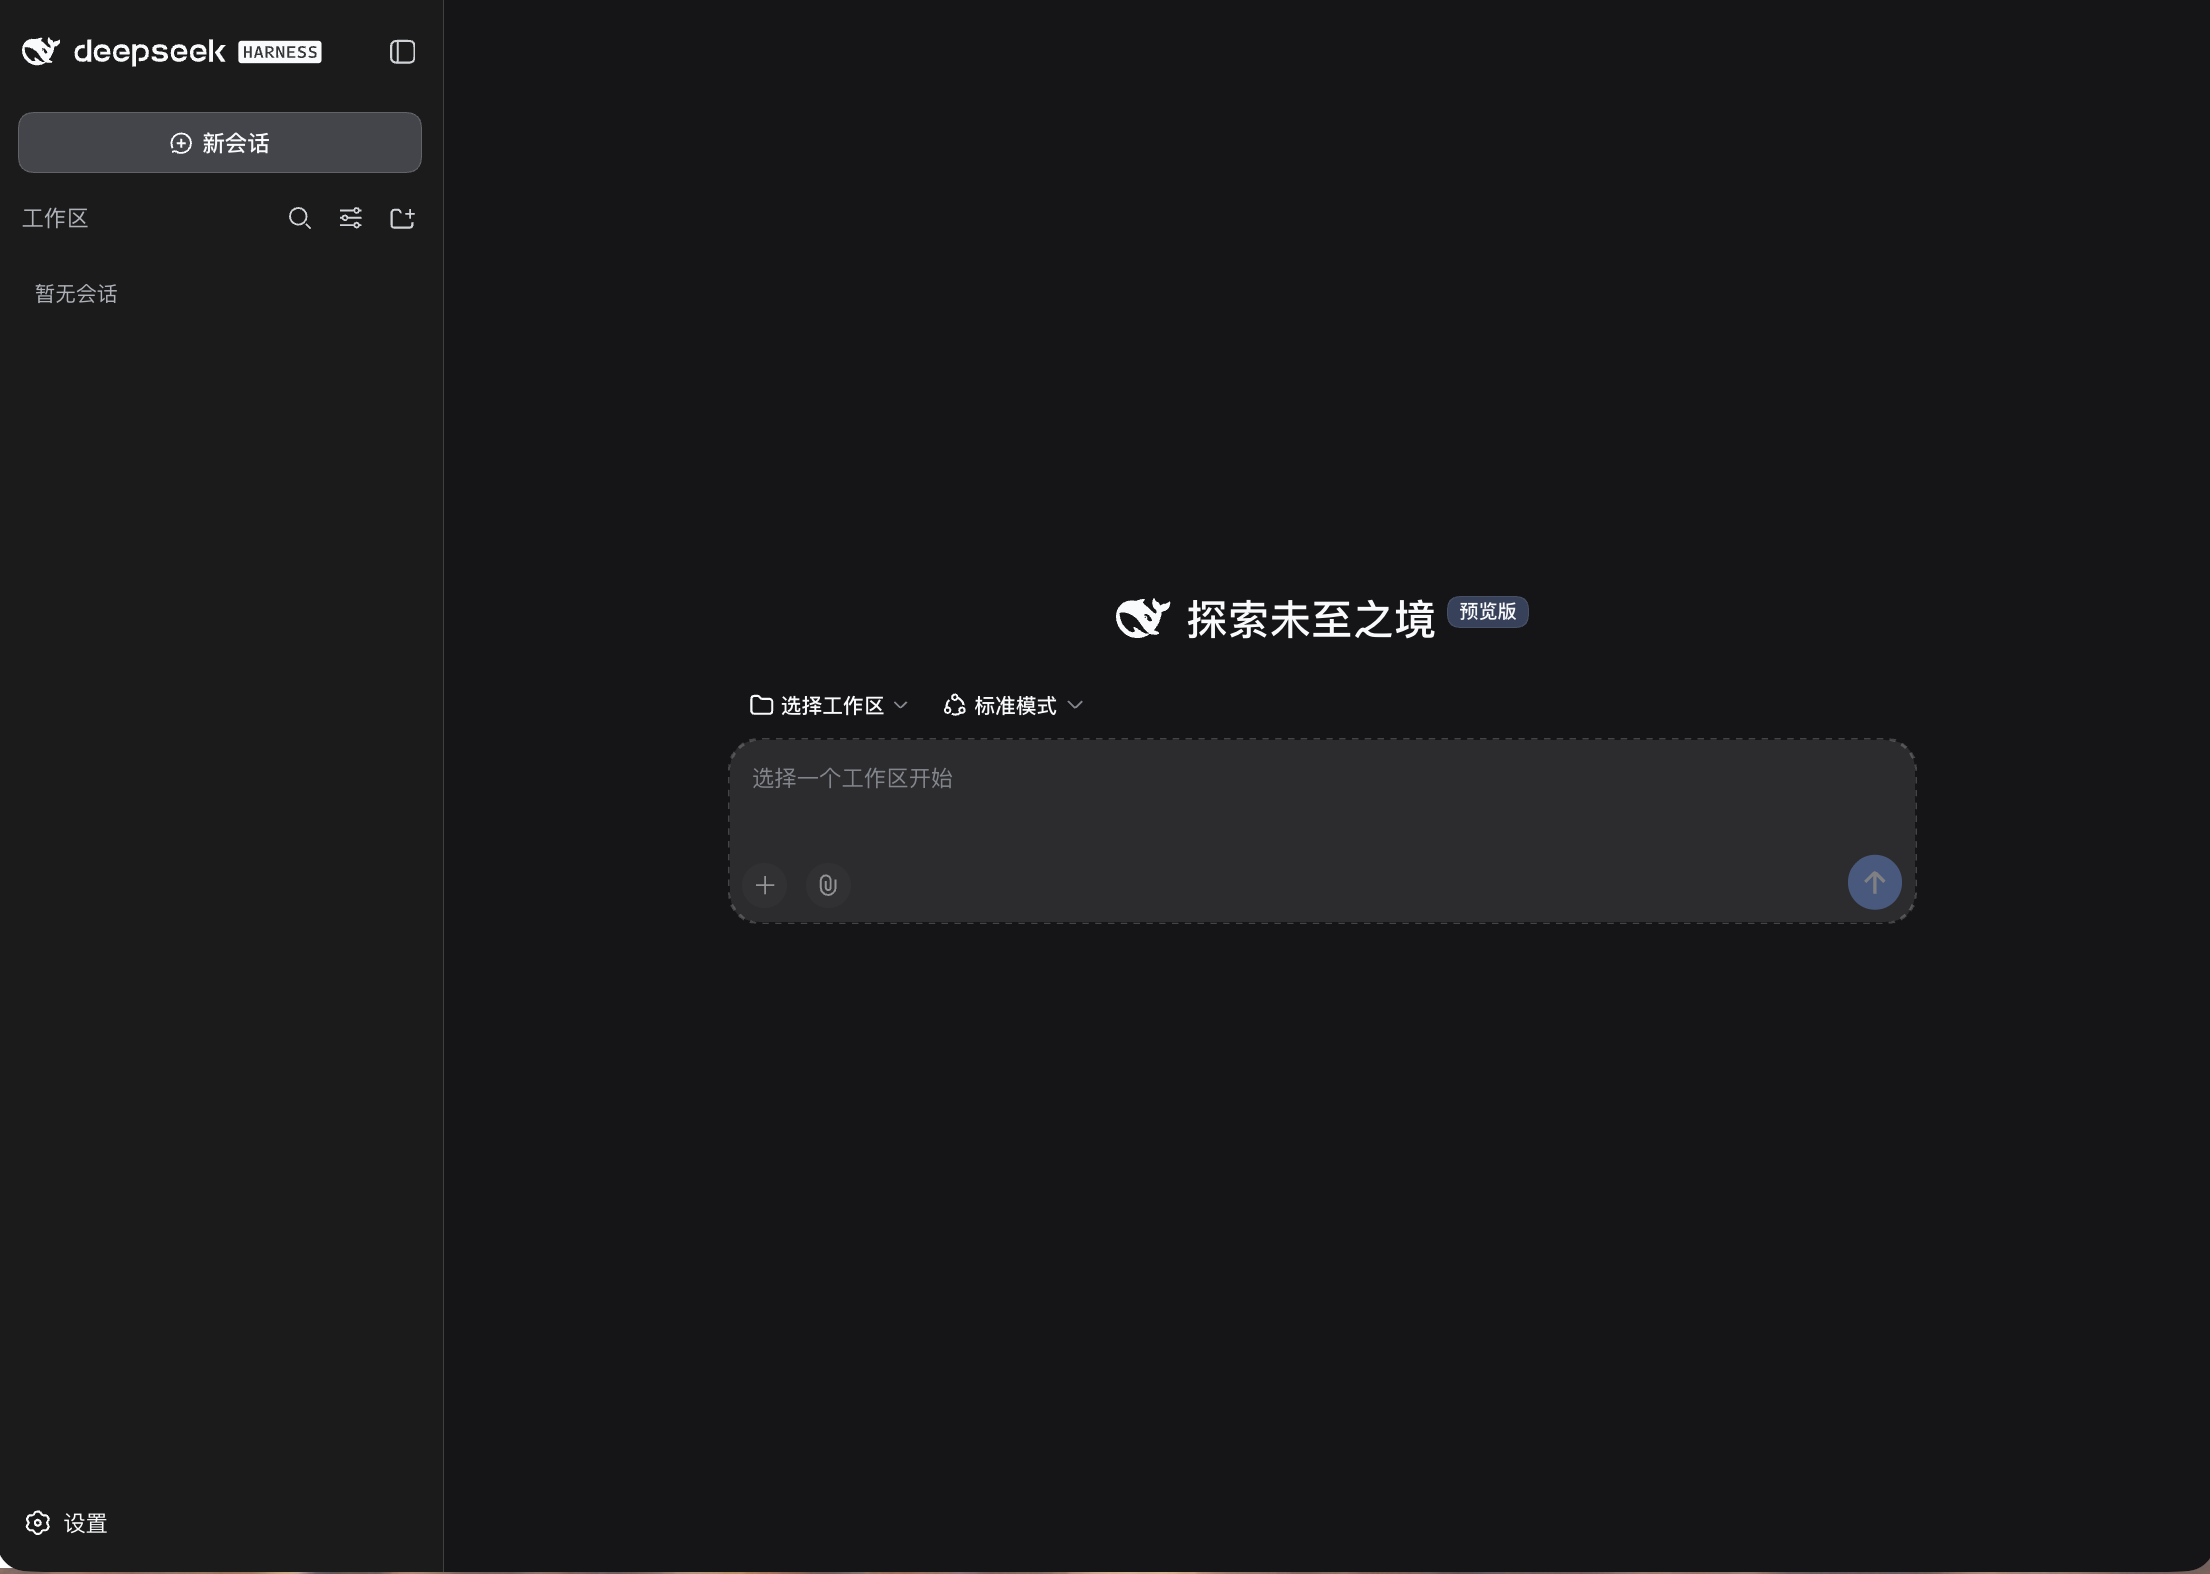
dsh-vps puts a zero-dependency login gateway (dsh-gate) in front of DSH: public requests pass a scrypt login gate first, then the gateway performs DSH session authentication server-side and proxies the rest. You open a browser anywhere and get the stock DSH web interface — settings, models, API keys and the plugin marketplace all working.
Capabilities
| Capability | Notes |
|---|---|
| Two ways to install | fill in a form and click install from the DSH on your own computer (Mac / Windows / Linux), or run one curl | bash on the VPS; then it runs as a systemd service, started on boot |
| Login gate | scrypt password + HMAC session cookie + rate limiting |
| Browser setup wizard | admin account, domain, DeepSeek API key and bundled plugins — all filled in from the browser |
| Chinese and English | the sign-in page, setup wizard and startup page follow the browser language, with a switch in the top-right corner that is remembered; the VPS Deploy page and upgrade prompt inside DSH follow the DSH language setting |
| One-time setup token | the wizard only answers to holders of the token; the link is printed at install time, re-printable, and voided once setup completes |
| One-click bundled plugins | 3 shipped in the wizard: this project's settings page dsh-vps (required), plus the plugin market and VPS manager (pre-checked, optional); installed in the background and activated by an automatic restart |
| Automatic HTTPS | Caddy issues and renews certificates; changing the domain in the wizard hot-reloads instantly |
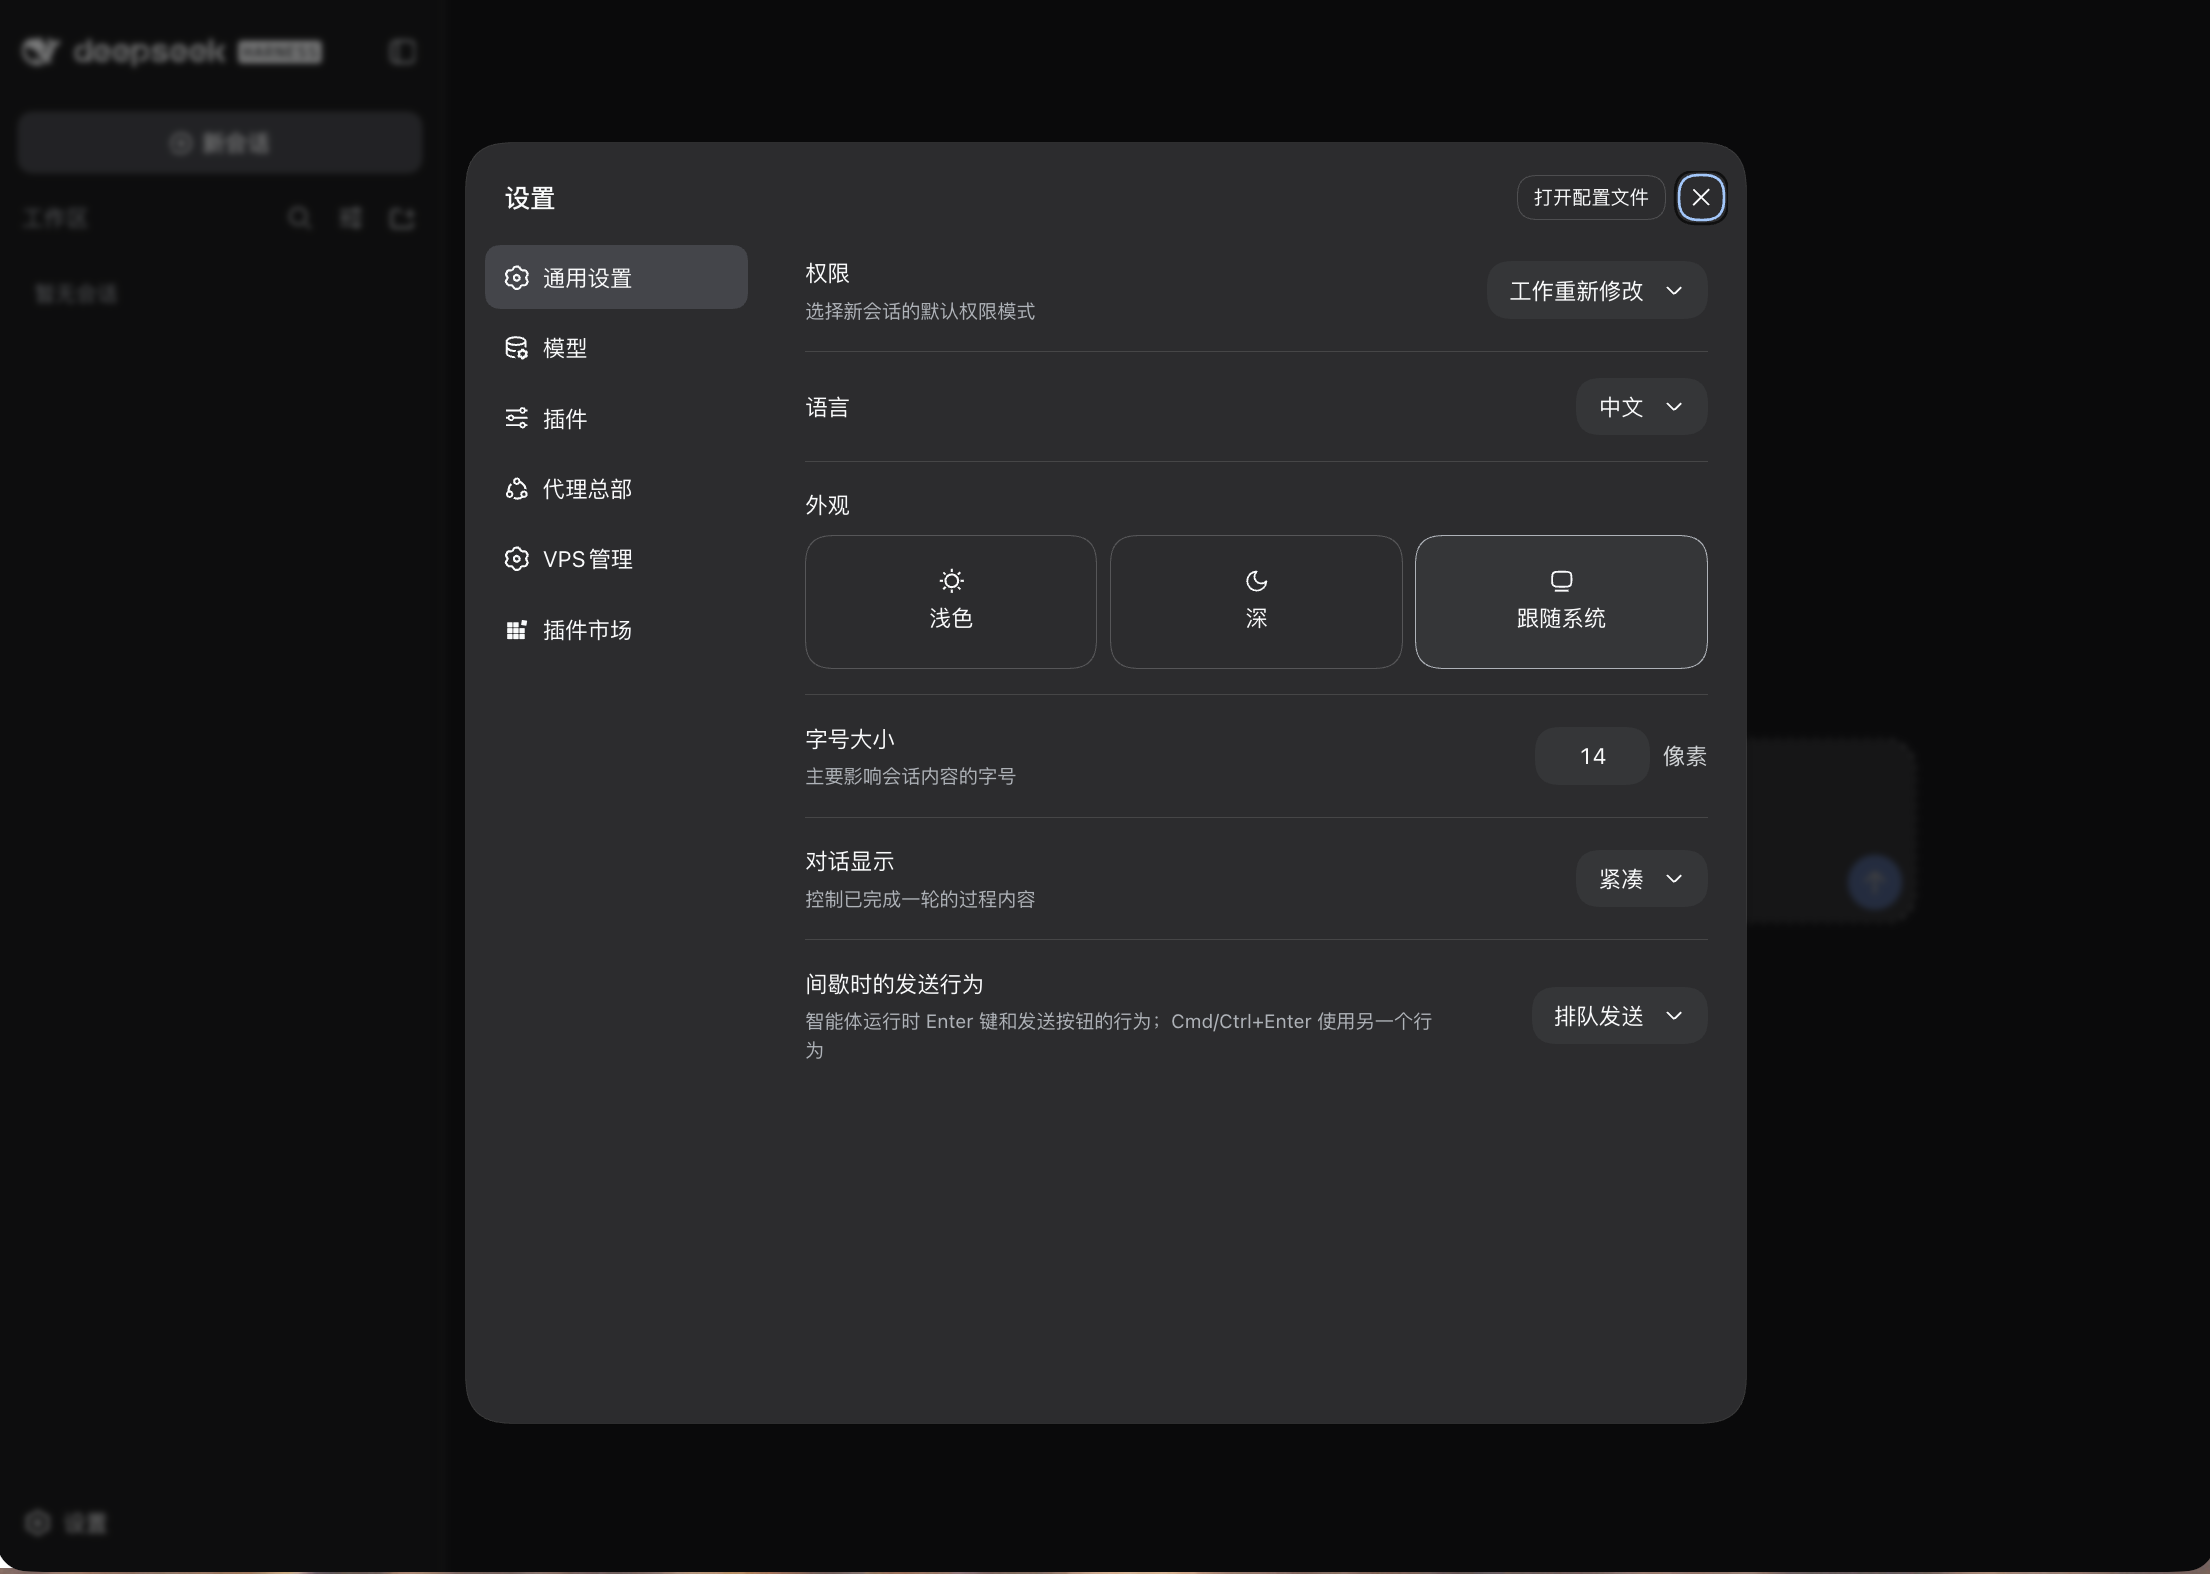
| Native settings on a public domain | settings, models, API keys and permission policies read and write normally |
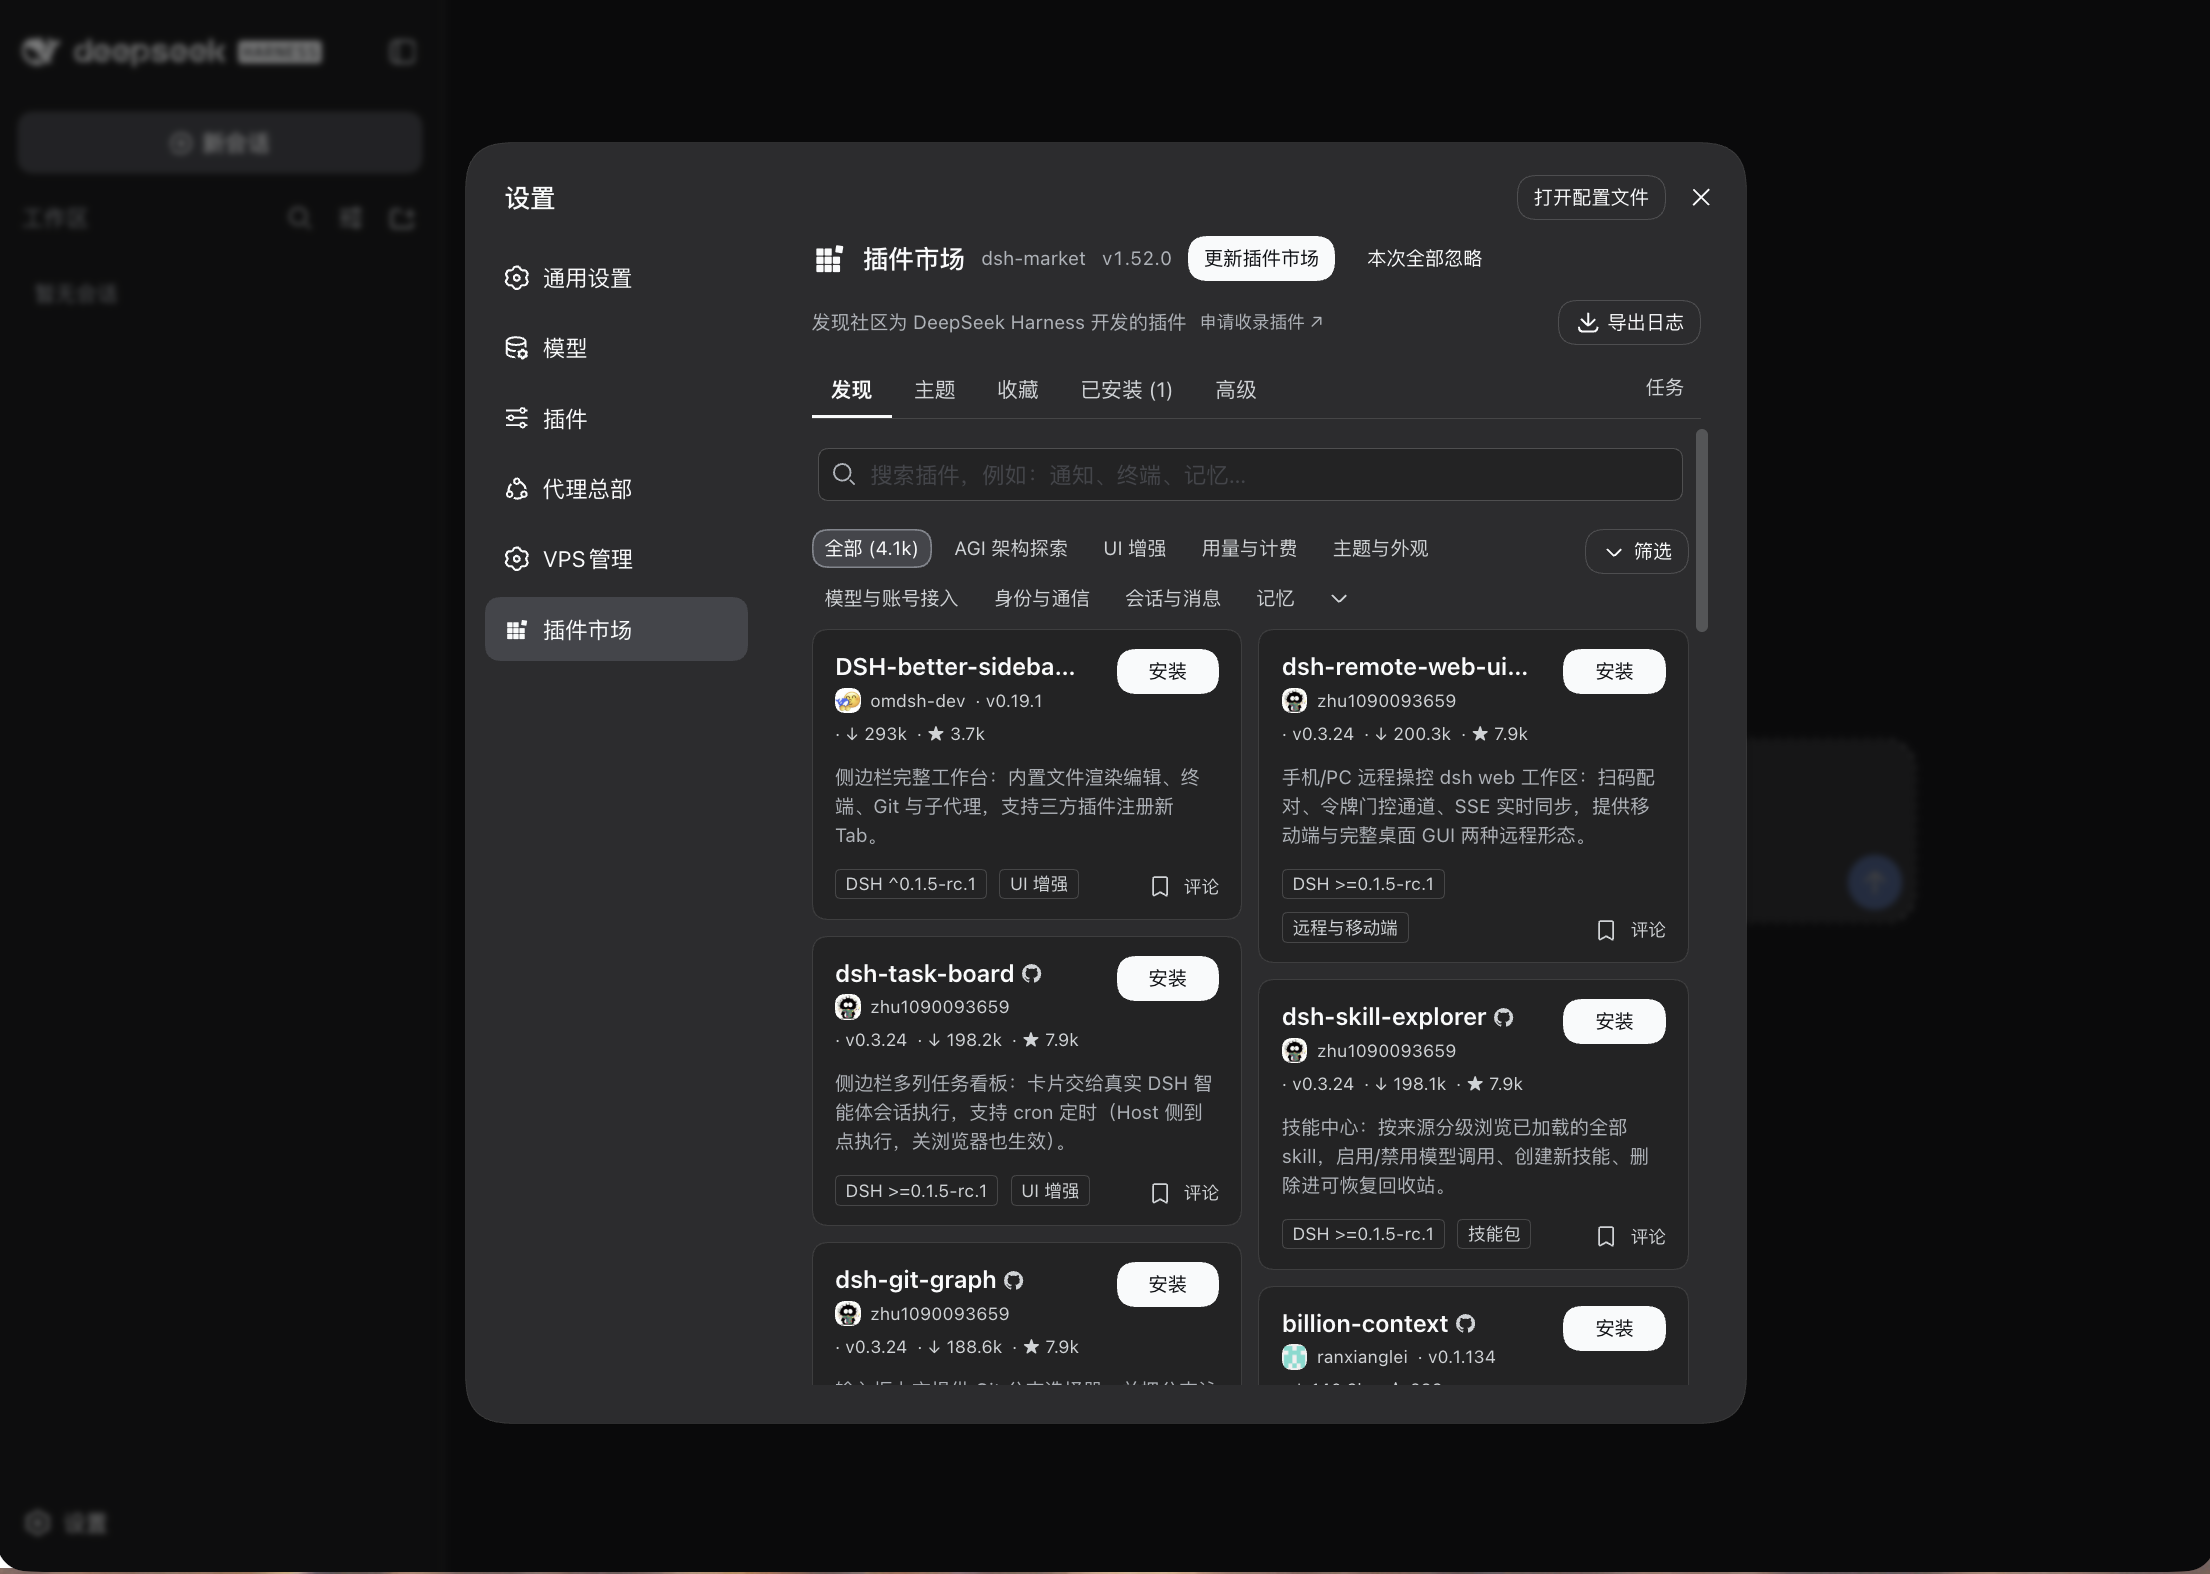
| Working plugin marketplace | browse and install plugins from the marketplace, and "restart now" just works |
| Self-healing startup | the first boot and plugin installs take tens of seconds; the page waits and enters on its own |
| One-click upgrades that follow upstream | a prompt appears when DSH releases a new version; upgrade with one click under Settings → VPS Deploy — backup → self-check → automatic rollback on failure, plus manual rollback at any time |
| Observable and recoverable | /gate/health on the server reports the crash reason and crash streak; dsh-vps backup keeps the latest 3 copies |
| Tightened exposure | session cookies are always Secure/HttpOnly/SameSite; diagnostics are reachable only from the server itself or an authenticated session; the service runs as the unprivileged dsh user under systemd sandboxing |
| Reachable by me only | one command builds a WireGuard tunnel, after which the public internet can't even reach the login page; SSH local forwarding covers you if you'd rather install nothing |
Screenshots
| Install done | Setup wizard | Wizard filled |
|---|---|---|
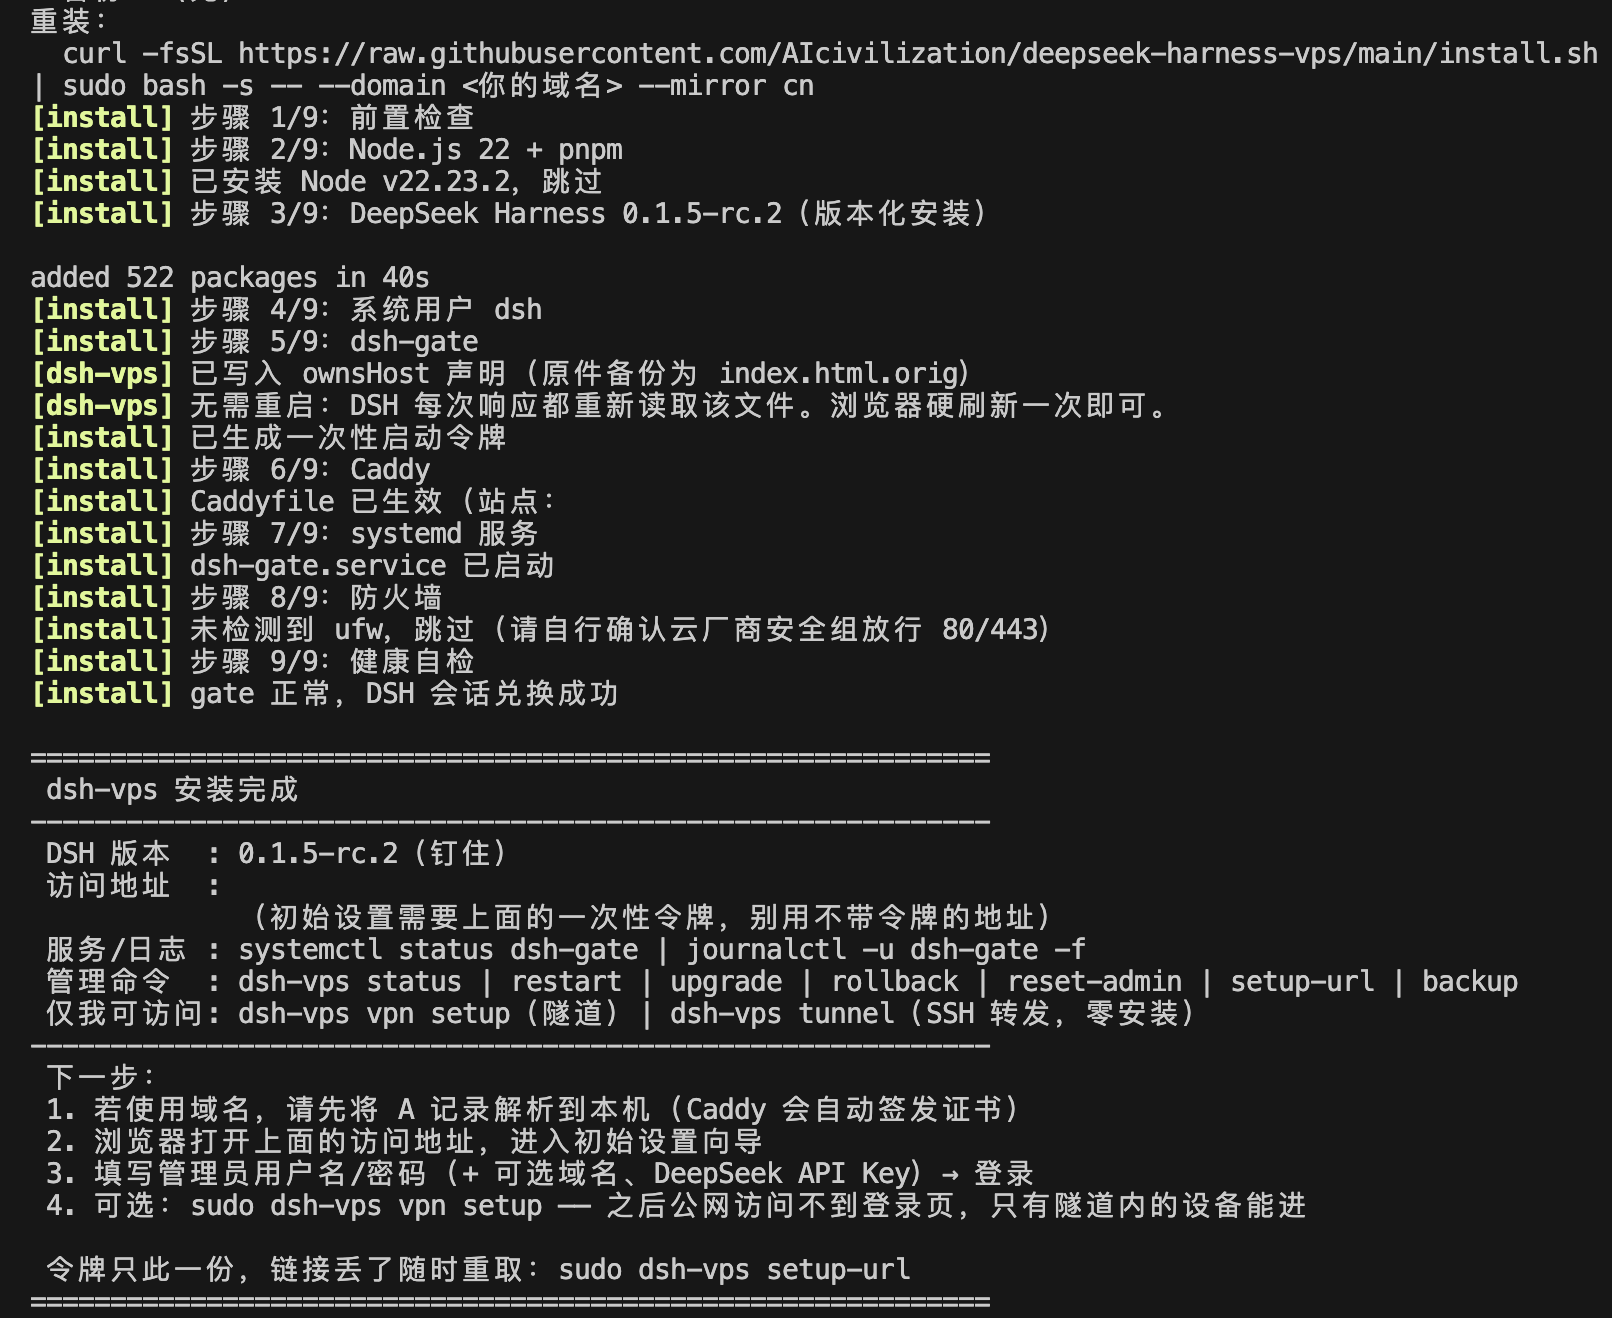 |
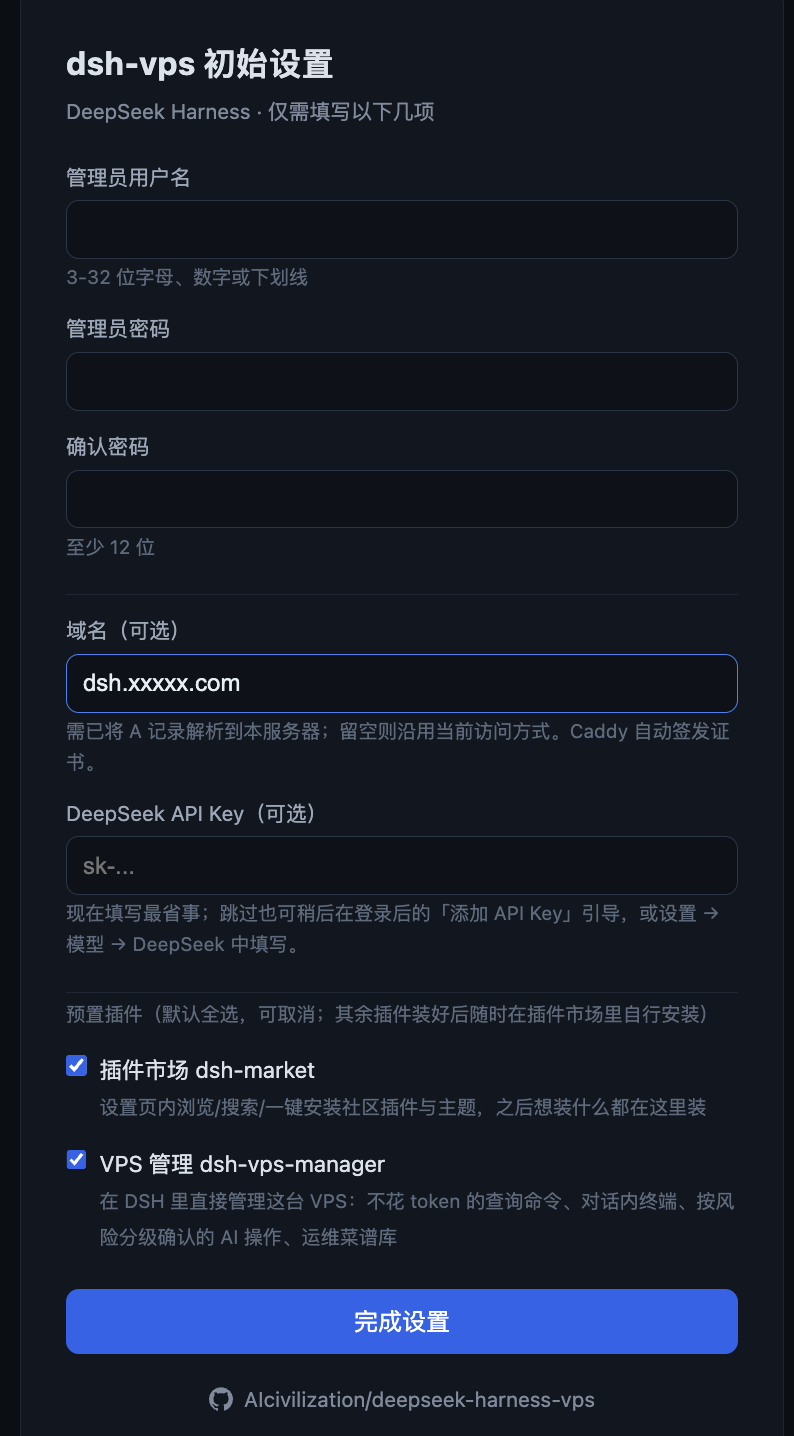 |
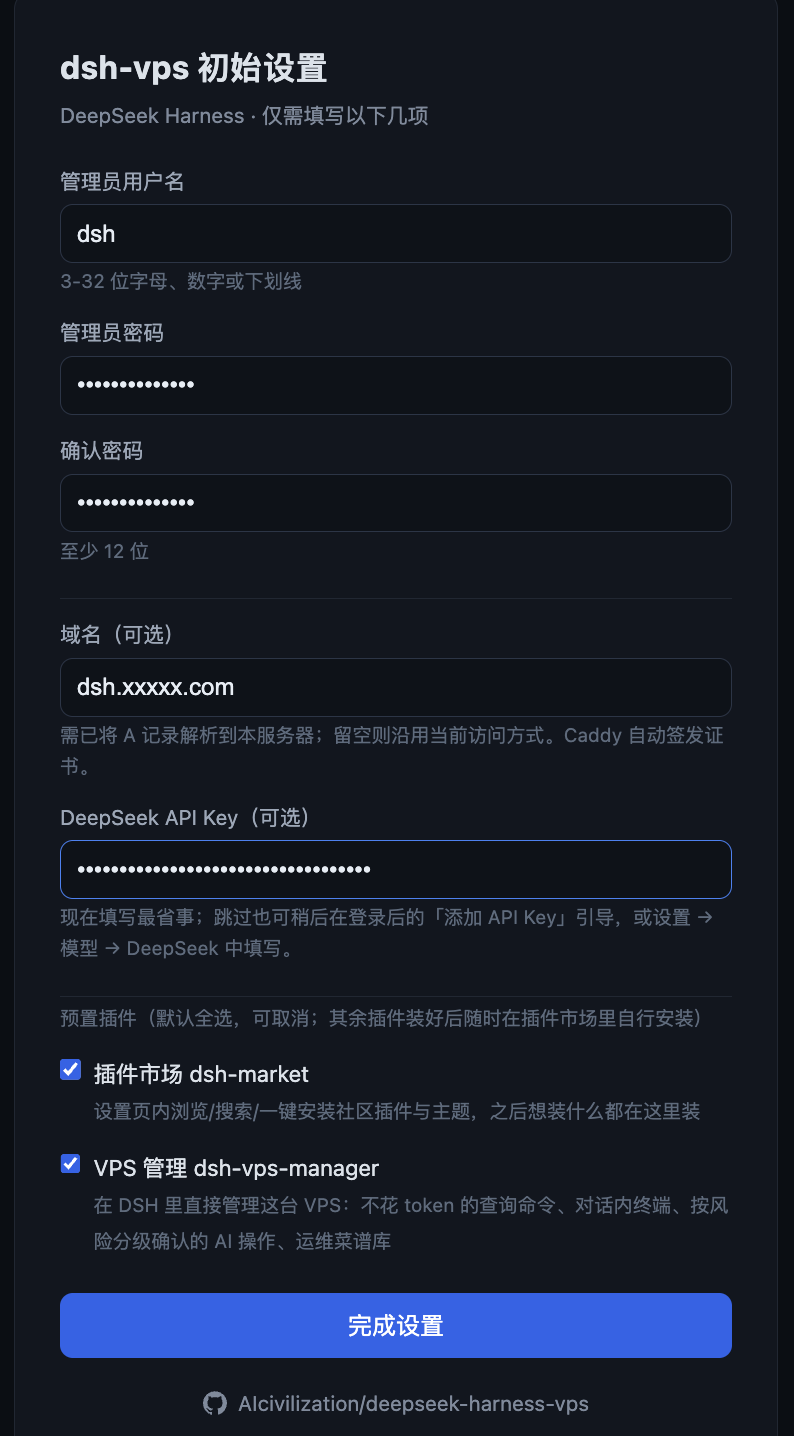 |
| Setup complete | Login gate | Logging in |
|---|---|---|
 |
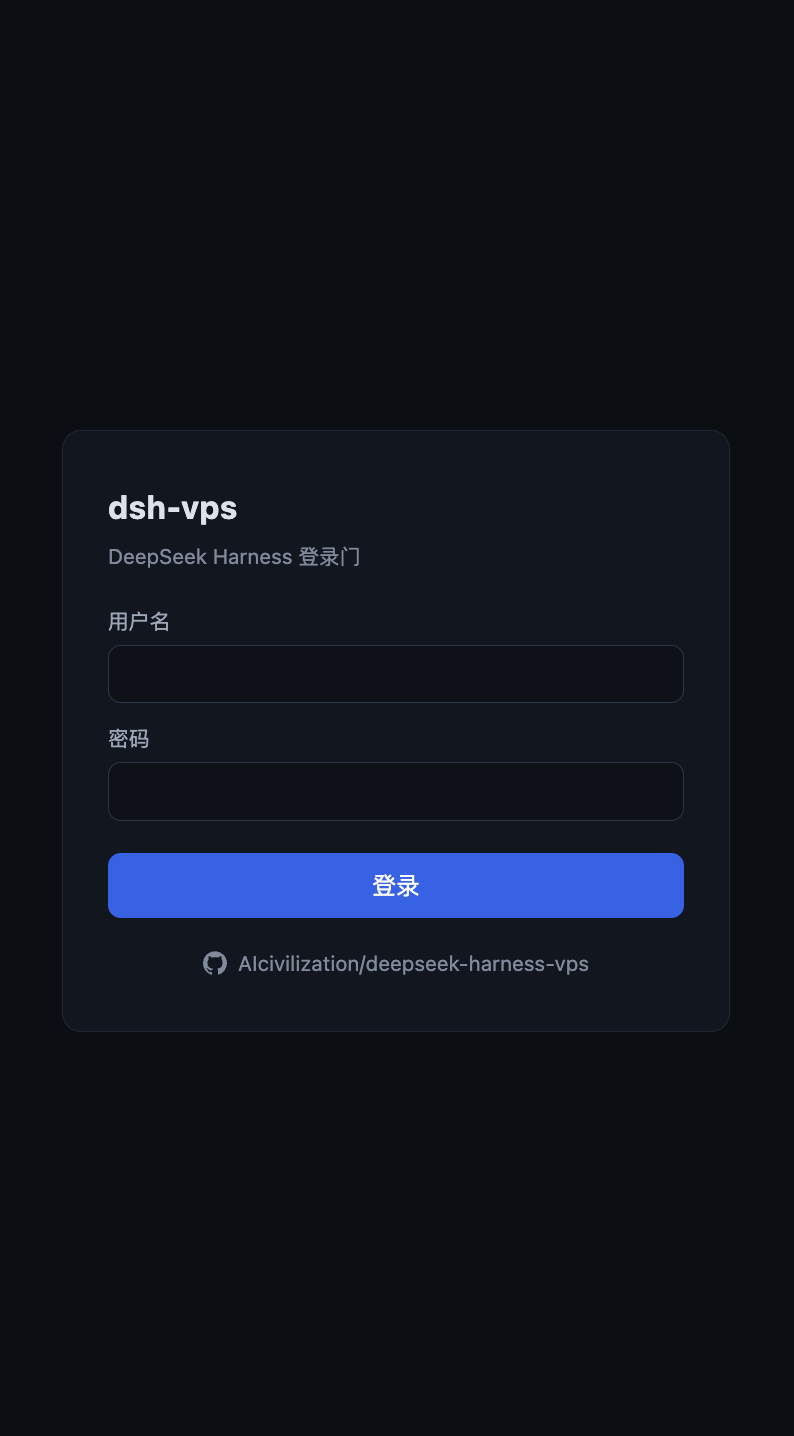 |
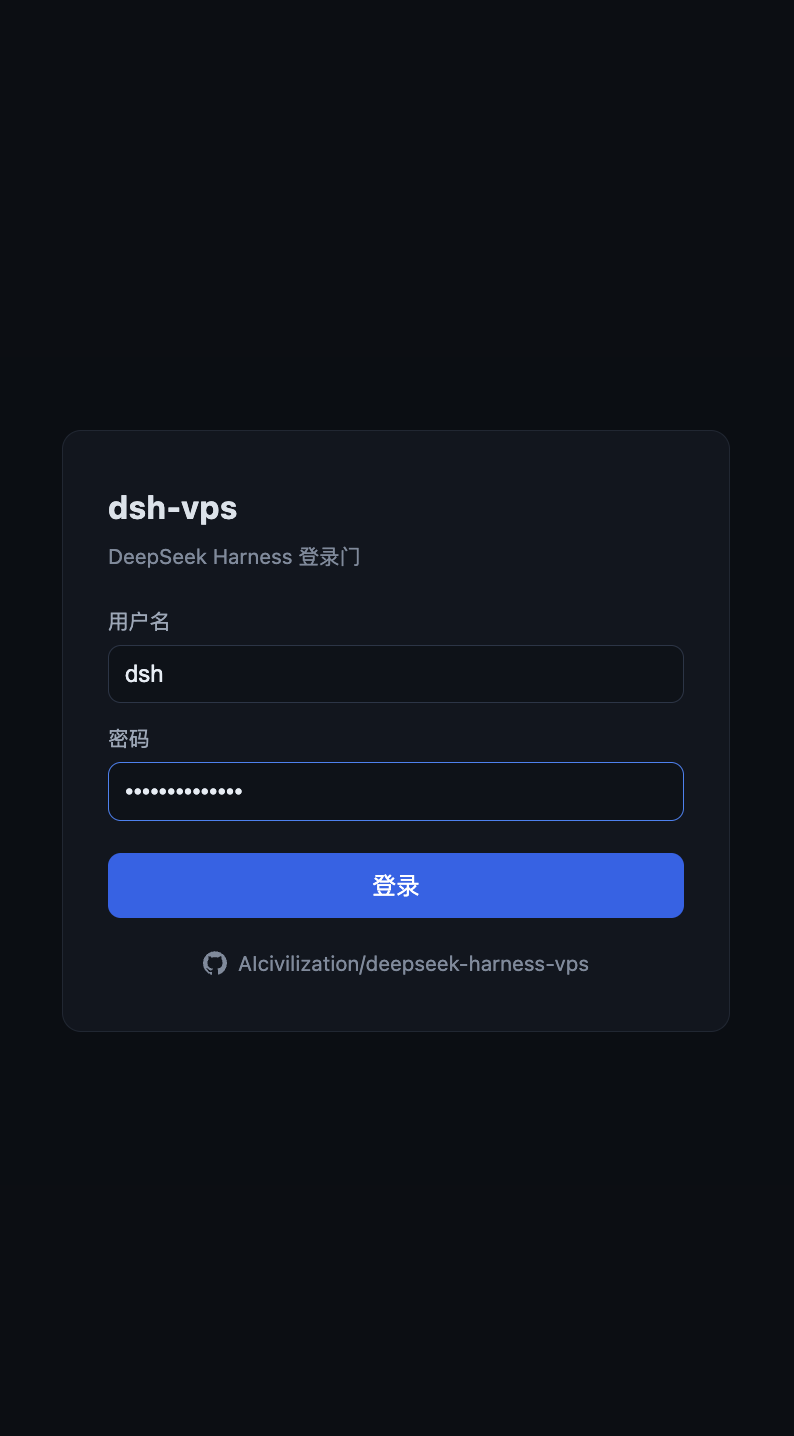 |
| Native DSH UI | Settings (works on a public domain) | Plugin marketplace |
|---|---|---|
 |
 |
 |
Requirements
- Ubuntu 22.04+ / Debian 12+ (root)
- 2 vCPU / 2 GB RAM or better; ports 80/443 open
- A domain gives you automatic HTTPS (point its A record at the server first); a public IP with a self-signed certificate works too
Install
Option 1: fill in a form in the DSH on your own computer
Works with DSH on Mac, Windows and Linux:
- Add the
dsh-vpsplugin to DSH: search the plugin market, or rundsh plugin add dsh-vps - Open Settings → VPS Deploy and enter the server IP, SSH port, username and password; add a domain if its A record already points at the server, and tick "Server is in mainland China" if it is
- Click "Install on this VPS"
- The password is used once and never stored; leave it empty to use your existing SSH key
- The page streams the install log and ends with the setup-wizard link
- The install runs in the background on the server, so closing the page or losing the connection does not stop it
- Needs an OpenSSH client on your computer: built into macOS and Linux; on Windows 10/11 add "OpenSSH Client" under Settings → System → Optional features
Option 2: run one command on the VPS
curl -fsSL https://raw.githubusercontent.com/AIcivilization/deepseek-harness-vps/main/install.sh \
  | sudo bash -s -- --domain dsh.example.com
Add --mirror cn if you're behind the GFW (Node and DSH come from npmmirror).
No domain yet? Drop --domain and use the public IP:
curl -fsSL https://raw.githubusercontent.com/AIcivilization/deepseek-harness-vps/main/install.sh | sudo bash -s
The certificate then comes from Caddy's internal CA, so the browser warns "Not secure / certificate not trusted". That is expected — proceed anyway. Add a domain in the wizard later and Caddy switches to a real certificate. (The same applies to option 1 without a domain.)
Or install through npm, running exactly the scripts shipped in this package (pinned, no network fetch; needs Node 22+ on the machine):
npx dsh-vps-install install --domain dsh.example.com
To pin a release instead of main, replace main with the version tag and point later gateway fetches at the same tag:
curl -fsSL https://raw.githubusercontent.com/AIcivilization/deepseek-harness-vps/v1.7.0/install.sh \
  | sudo DSHVPS_RAW_BASE=https://raw.githubusercontent.com/AIcivilization/deepseek-harness-vps/v1.7.0 bash -s -- --domain dsh.example.com
If the final self-check reports that DSH is not ready yet, the setup link is still printed; the page shows startup progress and the actual error. Troubleshoot with journalctl -u dsh-gate -n 80 --no-pager.
Update
DSH itself follows official releases. The gateway checks npm for the newest official version (the higher of the latest and next channels) every 6 hours. When a newer one exists, a prompt appears in the bottom-right corner of the DSH page (also available under Settings → VPS Deploy); click "Upgrade now" and confirm. It backs up, installs the new version and runs a self-check, rolling back to the previous version automatically if the check fails — about 1–3 minutes in all. "Later" silences that version. A release is offered only 12 hours after it is published — upstream sometimes publishes the main package hours before its sub-packages, and upgrading in that window just fails. From the server you can also run:
sudo dsh-vps upgrade            # the version verified by this project
sudo dsh-vps upgrade --latest   # the latest official release (same as "Upgrade now")
sudo dsh-vps rollback           # back to the previous version
Updating the gateway itself (login page, proxy):
sudo dsh-vps update-gate
Machines installed before v1.5.0: run the one-command install above once more to get the in-page upgrade prompt (it enters repair/update mode; accounts and data are kept).
Uninstall
curl -fsSL https://raw.githubusercontent.com/AIcivilization/deepseek-harness-vps/main/uninstall.sh \
  | sudo bash -s -- --yes
Uninstall from the DSH on your own computer: Settings → VPS Deploy → "Uninstall from a VPS", enter the server login details, choose whether to keep DSH data and whether to remove Caddy too, and click "Uninstall from this VPS". DSH data is kept by default.
Or run the command above on the server. It removes the service, install directory, Caddy site block and the DSH data directory, packing a backup (Caddyfile included) to /root/dsh-vps-uninstall-<timestamp>.tar.gz first. The Caddyfile you had before installing is restored, and only a wg0 created by dsh-vps vpn is removed — your own WireGuard setup is left alone. --keep-data keeps the DSH data, --purge-caddy removes Caddy as well. Uninstall then install again gives you a clean environment.
First run
Installation ends with a setup link carrying a one-time token (printed in the terminal for the command-line install, shown on the settings page for the form install) — open it to reach the wizard (opening the bare IP or domain only shows a "setup token required" page, by design): admin username/password → (optional) domain, DeepSeek API key & bundled plugins → log in. The wizard only answers to holders of the token, and the token is voided once setup completes. Lost the link? Print it again:
sudo dsh-vps setup-url
Skipping the API key is fine; you can add it later via the "Add API key" prompt or Settings → Models → DeepSeek.
The plugins install in the background (tens of seconds), always at their latest npm version, and DSH restarts to activate them. Three of them:
dsh-vps (this project, required): the Settings → VPS Deploy page in DSH with three tabs — "This server" (DSH version with one-click upgrade, gateway status and access mode, common server commands), "Install on a VPS" and "Uninstall from a VPS" (install DSH on, or remove it from, another VPS over SSH). In the DSH on your own computer it shows only the last two. The page follows the language chosen in DSH under Settings → General → Language (DSH currently ships Chinese and English) and switches instantly; so does the in-page upgrade prompt
dsh-market: browse, search and install community plugins and themes from Settings. Everything else is left to you — add whatever you want from the marketplace afterwards
dsh-vps-manager: manage this very VPS from inside DSH —
/vps-queries that skip the model and cost no tokens, a terminal in the conversation, AI operations confirmed by risk level, and a recipe library. Add this machine under Settings → VPS Manager (SSH key login)
Reachable by me only (optional)
By default the site is publicly reachable and the login page is what keeps people out. If you'd rather the public internet never even reach that page, build a tunnel:
sudo dsh-vps vpn setup macbook
It installs WireGuard, brings up the tunnel and issues the first device's client config (printed to the terminal; pipe it through qrencode -t ansiutf8 for a phone to scan). Once enabled, Caddy serves only the tunnel subnet and drops every other source outright — scanners don't even get a handshake. Your domain and certificate stay as they are, renewals unaffected.
sudo dsh-vps vpn add iphone     # issue another device
sudo dsh-vps vpn list           # devices + last handshake
sudo dsh-vps vpn revoke iphone  # lost a device? revoke it, effective immediately
sudo dsh-vps vpn status         # access policy + tunnel state + devices
sudo dsh-vps vpn off            # public access restored instantly; tunnel config is kept
The tunnel is split: only traffic to this DSH goes through it, everything else keeps using your local network. No IP forwarding, no NAT — this is not a full-traffic VPN. SSH remains the outermost fallback, so if the tunnel breaks you can still log in and run vpn off.
If you only ever use a computer, you don't even need WireGuard — SSH local forwarding does the same job:
sudo dsh-vps tunnel # prints a ready-made ssh -L command and an ~/.ssh/config snippet
Browsers treat 127.0.0.1 as a secure origin, so the login session works normally. The trade-offs: it dies when the SSH connection drops, and phones can't do it. Pick the tunnel if you want always-on or mobile access.
Management
sudo dsh-vps status        # service status + health + version hints
sudo dsh-vps restart       # restart (DSH restarts and re-exchanges its session)
sudo dsh-vps upgrade       # upgrade DSH to the latest verified version (backup → self-check → auto rollback)
sudo dsh-vps update-gate   # pull and restart the gateway code itself (no git repo on the VPS)
sudo dsh-vps ownshost on   # apply the settings-page patch (restores settings on a public domain)
sudo dsh-vps selfcheck     # run the regression self-check (login / RPC / WebSocket / session)
sudo dsh-vps rollback      # switch back to the previous DSH version
sudo dsh-vps reset-admin   # emergency reset if you lose the admin password (re-runs the wizard, new token, signs out every session)
sudo dsh-vps setup-url     # re-print the setup link with its one-time token
sudo dsh-vps backup        # back up data (keeps the latest 3)
sudo dsh-vps vpn setup macbook  # build a WireGuard tunnel and switch to "tunnel only"
sudo dsh-vps vpn add iphone     # issue another device (prints config + QR code)
sudo dsh-vps vpn list|revoke|status|on|off
sudo dsh-vps tunnel        # zero-install alternative: SSH local forwarding usage
The Caddy site block is generated by gate/site-block.js — installation, domain changes and the tunnel switch all share that one template.
How it runs
Both DSH and the gateway bind to 127.0.0.1 only, the user's browser never sees DSH's session cookie, and every request is proxied through after the gateway authenticates it.
- Self-healing startup: during first boot and plugin installs the page shows "DeepSeek Harness 正在启动", polls health every 3s and reloads itself as soon as the session is ready.
- Settings availability: DSH's frontend decides "is this the operator's own browser" from the page hostname and hides settings on a public domain. The gateway serves the officially supported
__DSH_TRANSPORT__.ownsHostdeclaration alongside the page, which restores settings, models, API keys and permission policies.--trusted-hostonly opens the network fence — the two are separate gates. - Marketplace restart: "restart now" is handled by the gateway — it strips Caddy's
X-Forwarded-For(which trips DSH's loopback check and 403s) and restarts the DSH child process it owns, keeping session exchange intact. - Troubleshooting entry points:
sudo ss -ltnp | grep 3080finds stale DSH processes;curl -s http://127.0.0.1:3100/gate/healthon the server reportslastError,lastExitandcrashStreak(that endpoint answers only to the server itself or an authenticated session).
Repository layout
| File | Purpose |
|---|---|
install.sh |
one-command installer (optional --domain, --mirror cn) |
uninstall.sh |
uninstall with backup |
bin/dsh-vps |
operations CLI |
gate/server.js |
login gateway (Node, zero dependencies) |
gate/site-block.js |
Caddy site block template (shared by install, domain change and tunnel switch) |
caddy/Caddyfile.template |
Caddy main config |
units/dsh-gate.service |
systemd unit template |
versions.json |
verified DSH version list |
plugin/ + cordis.patch.yml |
the DSH plugin: Settings → VPS Deploy (version and one-click upgrade, gateway status; or install to a VPS over SSH from a form) |
License
Comments
Comments live in GitHub Discussions. Sign in with GitHub to post or react.